Your WiFi instructions shouldn't require a technical support call or a frustrated text at 11pm. When guests walk through your door after a long travel day, they expect to connect their devices within minutes, not struggle with confusing passwords or hunt for hidden routers. A clear, accessible WiFi guide eliminates one of the most common sources of host-guest friction and sets the tone for a smooth stay from the moment they arrive.
Most hosts underestimate how much a simple connectivity issue can derail a guest's first impression. What Airbnb guests want most after clean sheets and easy check-in is reliable internet access with zero hassle. The difference between a five-star review and a four-star one often comes down to these small details that guests notice immediately.
This guide walks you through exactly what information to include in your WiFi setup instructions, where to place that information so guests actually find it, and how to prevent the most common connectivity problems before they happen. Whether you're managing a tech-heavy smart home or a simple cabin rental, these principles apply across every property type.
What Every WiFi Guide Must Include
Your WiFi guide must contain four essential pieces of information: network name, password, router location, and basic troubleshooting steps. Missing any of these creates unnecessary back-and-forth messages that waste both your time and your guest's patience.
Network name and password essentials
Start with the exact network name (SSID) as it appears on devices, not what you think it should be called. If your router's default name is "NETGEAR47-5G" rather than "Guest WiFi," write down exactly that. Guests need to see the precise spelling, capitalization, and any numbers or special characters.
For passwords, clarity matters more than security theater. If your password includes easily confused characters like zero versus the letter O, or the number one versus lowercase L, spell it out explicitly. Consider formatting complex passwords with spaces or dashes for readability: "Blue-Whale-2024-Guest" rather than "BlueWhale2024Guest." Include a note if the password is case-sensitive, because guests will assume it isn't.
Many hosts create unnecessarily complex passwords that generate constant support requests. A 12-character passphrase using common words is both secure and memorable. Avoid special characters like @, #, or ! unless your router requires them, since mobile keyboards make these frustrating to enter quickly.
Router location and access details
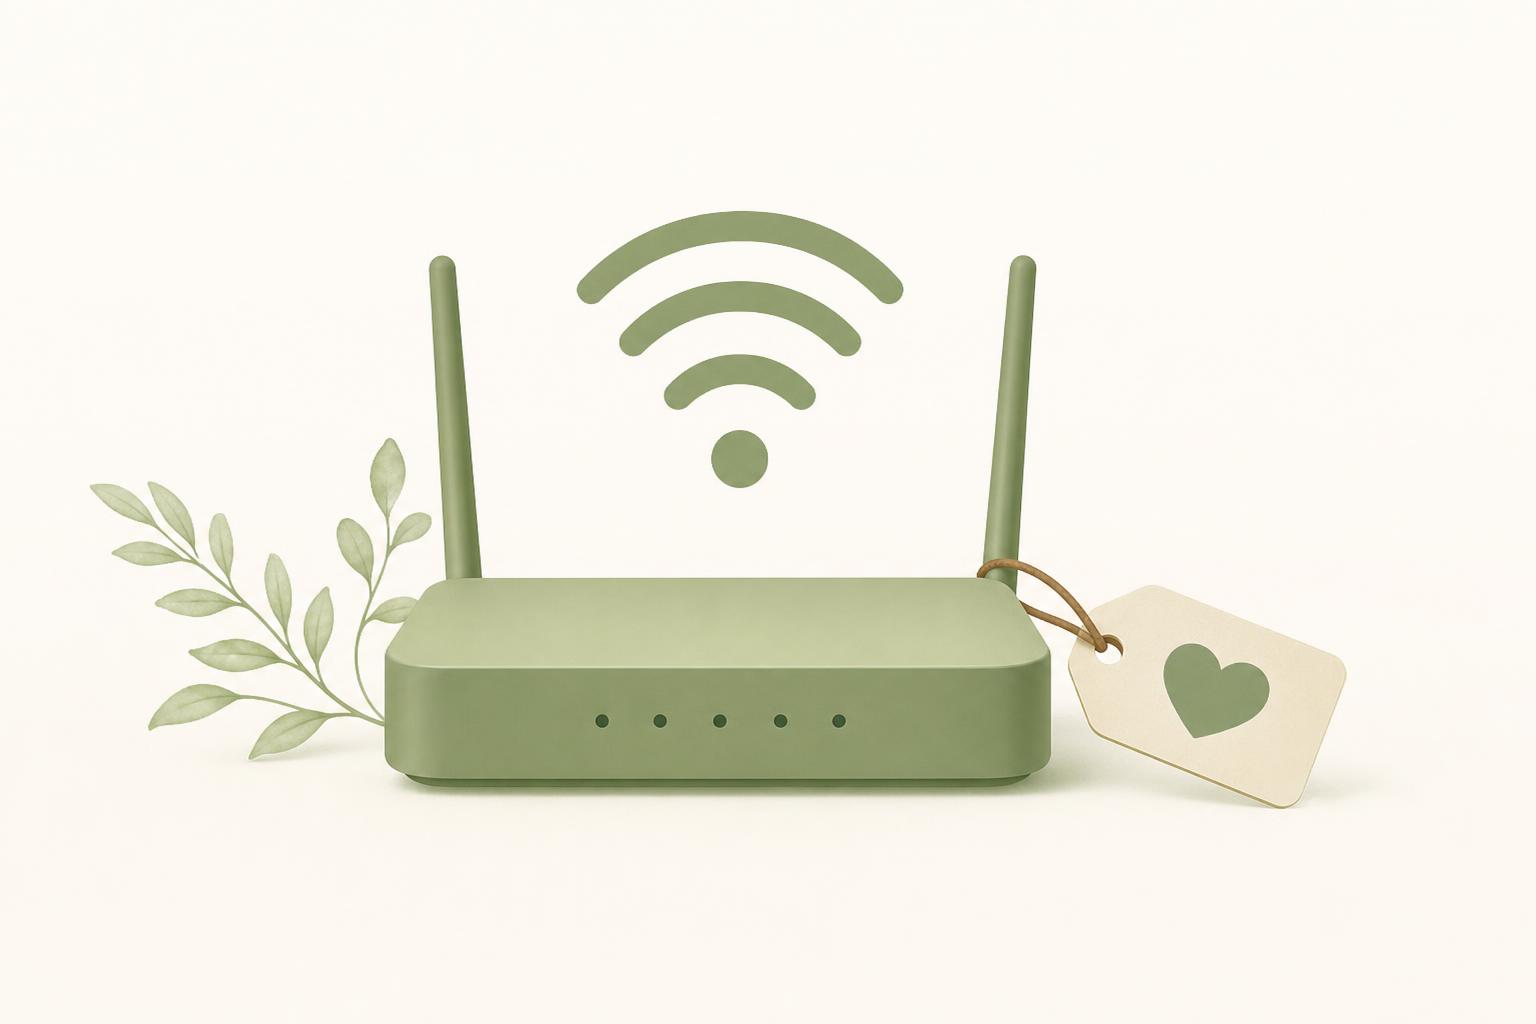
Tell guests exactly where to find the router if they need to troubleshoot: "The white router is in the hallway closet next to the thermostat, top shelf." This seemingly minor detail prevents guests from texting you photos of every device in your home asking "Is this the router?" Include whether the router is accessible or locked away, and whether they should contact you before touching it.
If certain rooms have weaker signals, mention this upfront. "The master bedroom gets full signal; the basement guest room may be slower for video calls" sets appropriate expectations rather than leaving guests to discover dead zones through frustration.
Expected speed and device limits
List your internet speed (download and upload) so guests know what to expect for their work calls or streaming plans. "100 Mbps download, 20 Mbps upload" tells remote workers whether they can run video conferences reliably. If you're in a rural area with 25 Mbps service, saying so prevents disappointed business travelers from leaving negative reviews about something outside your control.
Mention any device connection limits your router enforces. Most modern routers handle 20-30 devices easily, but older equipment or budget ISP routers may struggle with more than 10 simultaneous connections. If you have smart home devices using bandwidth, note that guests should expect to connect 3-4 personal devices comfortably.
Quick troubleshooting steps
Include three basic fixes guests can try before contacting you: restart their device, forget the network and reconnect, or wait 30 seconds if the router was recently reset. These simple steps resolve 80% of connection issues without requiring your intervention. Format these as a numbered list so stressed guests can follow them easily when WiFi drops during an important meeting.
Want to streamline all your guest instructions in one place? Create a complete digital guide that includes WiFi details, house rules, and local recommendations that guests can access instantly on their phones.
Start for freeWhere to Display Your WiFi Information
The best WiFi information is useless if guests can't find it when they need it, so strategic placement across multiple touchpoints ensures everyone connects successfully regardless of their arrival style.
Your digital guidebook as the primary source
A digital guidebook solves the accessibility problem completely because guests carry their phones everywhere. When WiFi details live in a mobile-friendly guide, guests can reference the password from any room without hunting for a printed card they left in the kitchen. Digital guides also allow you to update information instantly if you change your router or password.
Place your WiFi section prominently in the first few entries of your guide, right after arrival instructions. Guests typically want internet access within their first 15 minutes inside the property, so make this information immediately visible rather than buried in a long house manual.
Physical placement in high-traffic areas
Despite digital options, physical WiFi cards still serve an important backup role. Place a laminated card in three locations: on the kitchen counter or dining table, on the bedroom nightstand, and near the living room TV. These high-traffic spots catch guests wherever they first try to connect a device.
Use a simple, large-font design (18pt or bigger) that's readable from arm's length. A cluttered card with tiny text defeats the purpose. Consider using a small acrylic stand to make the card prominent rather than laying it flat where it might get covered by keys or groceries.
Pre-arrival message timing
Send WiFi details in your check-in message 24 hours before arrival, not the day-of message with the door code. This gives guests time to save the information rather than frantically scrolling through messages while standing in your entryway with luggage. Many travelers want to plan their work schedule around your internet capabilities before they even arrive.
Keep this message short and scannable. Use this format: "WiFi Network: [name] / Password: [password] / Speed: [speed]." Avoid burying these details in a paragraph about parking and trash bins. Separate critical connection information from your general house rules.
What Problems Do Guests Have with WiFi Connections?
Most guest WiFi issues fall into four predictable categories that you can prevent with better instructions and modest equipment upgrades.
Password entry errors and special characters
Guests mistype passwords containing ambiguous characters or unusual symbols more than 60% of the time. The most problematic characters are zero vs. capital O, lowercase L vs. number one, and uppercase I vs. lowercase l. If your current password uses these, consider changing it to something clearer.
Special characters cause problems because mobile keyboard layouts vary by device. What's easy to type on an iPhone requires three taps on an Android. If you must use special characters, limit yourself to hyphens or underscores that appear on the primary keyboard screen.
Weak signal in specific rooms
Dead zones frustrate guests who assume modern properties should have full coverage everywhere. If your property is larger than 1,500 square feet or has multiple floors, a single router probably won't cover everything adequately. Guests working from the far bedroom or basement will experience dropped video calls and slow loading speeds.
The solution is either a mesh WiFi system (three nodes typically cover 4,000 square feet) or strategic router placement in a central location rather than hidden in a closet. Mention any known weak spots in your guide so guests can choose their workspace accordingly.
Too many connected devices
When your router slows to a crawl, it's usually because 15 devices are fighting for bandwidth simultaneously. Guests don't realize that every smart TV, streaming stick, phone, laptop, tablet, smart speaker, and security camera counts as an active connection. A family of four easily brings 8-10 devices, plus your property's smart home equipment.
If you're experiencing regular slowdowns, check your router's device list and upgrade to a model that handles higher simultaneous connections. Most ISP-provided routers are adequate for home use but struggle under the device load of a rental property with rotating guests.
Router reset requirements
Some guests will need to reset your router, whether due to a legitimate outage or because they unplugged it while looking for an outlet. Include simple reset instructions: "Unplug the router, wait 60 seconds, plug it back in, wait 3 minutes for all lights to stabilize." This empowers guests to solve their own problems at 2am rather than waking you up.
Place a small label on the router itself with these instructions, because guests who need to reset it probably don't have internet access to check your house manual template at that moment.
Advanced Tips for Tech-Heavy Properties
Properties with extensive smart home systems require more sophisticated network setups to keep guest access simple while protecting your backend devices.
Separate network for smart home devices
Running your smart locks, thermostats, cameras, and lighting on a separate network from guest devices improves both security and performance. Guests can't accidentally interfere with your smart home controls, and your property management systems won't compete with guests streaming Netflix in 4K.
Most modern routers support multiple SSIDs (network names) on the same hardware. Create "Property-Management" for your devices and "Guest-WiFi" for visitors. Guests never see your management network and can't connect to it even if they tried. This separation also means you can reboot the guest network without disrupting your smart lock instructions or security cameras.
Guest network vs primary network setup
Enable your router's guest network feature if available. Guest networks provide internet access while blocking access to other devices on your network, including any computers, network storage, or printers you might have connected. This protects your personal files and devices from curious guests while still providing full internet speeds.
The downside is that some guest networks have built-in speed limitations or don't support certain streaming protocols. Test your guest network thoroughly before directing all visitors to it. If it causes problems with Chromecast or AirPlay, you may need to use your primary network with a strong password instead.
QR code WiFi connection options
QR codes eliminate password typing entirely. Guests scan a code with their phone camera, and their device connects automatically. This works brilliantly for simple networks with straightforward passwords but can fail with enterprise-grade security settings or older devices.
Generate a WiFi QR code using a free online tool (search "WiFi QR code generator"), print it at a readable size (at least 3x3 inches), and place it next to your traditional written credentials. Offer it as an option, not a requirement, since some guests with older phones won't have QR scanning capability built into their camera app. This approach combines the convenience of modern tech with the reliability of written instructions.
Conclusion
A well-crafted WiFi guide does more than prevent support messages. It demonstrates attention to detail that guests notice and mention in reviews. When you make connectivity seamless, you remove a common friction point that affects everything from guest mood to their ability to leave you a review before they forget. The five minutes you invest in clear WiFi instructions saves hours of troubleshooting texts and protects your rating from easily preventable technical complaints.
The most successful hosts treat WiFi information as a core part of their arrival experience, not an afterthought scribbled on a sticky note. Whether you choose a printed card, a digital guide, or both, consistency and clarity matter more than fancy design. Test your instructions with a friend who's never visited your property, and refine based on their experience. If they can connect without asking questions, your future guests will too.
Ready to create a complete guest guide that includes WiFi details alongside all your other property information? Start building your digital guest guide today and give your guests the seamless arrival experience they expect, starting with effortless internet access from the moment they walk through your door.