Your guests just messaged at midnight asking why the heat won't turn on, or worse, they've set the air conditioning to 62 degrees and left it running full blast for three days. The thermostat is one of those seemingly simple devices that somehow generates an endless stream of confused guest messages, negative reviews about being "too cold" or "couldn't figure out the temperature," and utility bills that make you wince. The problem isn't that your guests are incompetent; it's that every thermostat works differently, and what seems obvious to you after living with your system becomes genuinely confusing for someone encountering it for the first time at 11 PM after a long travel day.
Why Thermostat Instructions Confuse Guests
Thermostat confusion stems from the fact that there's no universal standard for how these devices work, creating a perfect storm of guest frustration. While hotels typically use simple up-down controls with clear temperature displays, short-term rentals feature the same residential systems homeowners use, which range from basic dial thermostats to sophisticated smart devices with touchscreens, apps, and programmable schedules.
Every thermostat brand works differently
A Nest thermostat requires you to turn the dial and push to confirm. An Ecobee uses a touchscreen with menus. A Honeywell might have physical buttons arranged in a completely different layout. Some thermostats display the current room temperature, while others show the target temperature, and guests often can't tell which number they're looking at. The heating and cooling modes require switching between settings that aren't always labeled clearly, and many thermostats have "auto" modes that switch between heating and cooling based on logic that confuses even experienced users.
If you have a multi-zone system with separate thermostats for upstairs and downstairs, or a heat pump that works differently from forced-air systems most guests know, the complexity multiplies. Guests who've only ever used central air conditioning may have never encountered baseboard heating controls or radiator valves.
Guests fear breaking expensive equipment
Many guests would rather suffer in silence than risk damaging what looks like an expensive piece of technology. Smart thermostats with glowing screens and multiple buttons send an implicit message that "this is complicated and valuable," making guests hesitant to experiment with settings. This fear is especially pronounced with older guests or those from regions where home climate control isn't common. They'll endure uncomfortable temperatures rather than send you a message admitting they can't figure out something that "should be simple."
The anxiety increases when guests see settings they don't understand, like "emergency heat," "aux heat," or "fan schedules." Rather than risk triggering something that sounds important or costly, they simply avoid touching the device altogether.
Written instructions are easily ignored
You've probably included thermostat instructions in your house manual, but here's the uncomfortable truth: most guests don't read text-heavy instruction documents until something goes wrong. They arrive tired, they want to settle in quickly, and they assume the thermostat will be intuitive. By the time they realize they need help, they're already frustrated, and hunting through pages of instructions feels like homework. Even well-written text instructions require guests to stand in front of the thermostat, read a step, look at the device, read another step, and repeat. This creates friction that leads to mistakes and abandoned attempts.
Tired of answering the same thermostat questions? A digital guidebook puts visual instructions directly on your guests' phones where they'll actually use them.
Start for freeSet the Right Default Temperature
The single most effective way to reduce thermostat confusion is to set a comfortable default temperature that most guests won't feel compelled to change. When guests arrive to a space that already feels comfortable, they're far less likely to interact with the thermostat at all, which eliminates most potential confusion before it starts.
Choose a comfortable baseline guests won't change
Research on hotel room preferences and HVAC industry standards suggests that 70-72°F works well for most guests in most seasons. This temperature feels neutral enough that guests aren't immediately too hot or too cold, reducing the urge to make adjustments. If your property tends toward cooler or warmer naturally due to sun exposure or insulation, adjust your baseline accordingly. The goal is for guests to walk in and think "this feels fine" rather than "I need to change this immediately."
Consider your property's thermal characteristics too. A space with large windows facing west may need a lower initial setting in summer to counteract afternoon sun. A property with concrete floors might need a slightly higher baseline since hard surfaces feel cooler underfoot.
Seasonal temperature settings that work
Your default settings should shift with seasons, but not as dramatically as you might think. In summer, setting the air conditioning to 72-74°F before guest arrival provides a cool welcome without shocking them with arctic temperatures. In winter, 68-70°F offers warmth without making the space stuffy. These moderate settings also protect your utility costs, since extreme temperatures are both expensive and often uncomfortable once guests settle in.
Make sure your heating or cooling system has had time to bring the property to the target temperature before check-in. A guest arriving to a 78-degree house with the thermostat set to 70 will immediately start pushing buttons to "fix" it, when the system just needed more time.
How to communicate your temperature policy
Some hosts include temperature expectations in their house rules, asking guests to keep settings within a reasonable range for energy efficiency. This works best when framed positively: "We've set the temperature to 72°F for your comfort. If you need adjustment, please keep settings between 68-76°F to help us maintain our eco-friendly hosting practices." This gives guests permission to adjust while setting boundaries, and it frames the request around values (sustainability) rather than just costs.
Link this policy to your emergency instructions, since extreme temperature settings can sometimes trigger system failures or freeze warnings that require guest attention.
Create Visual Step-by-Step Instructions
Visual instructions cut through complexity in ways that text simply cannot, making them the most effective tool for helping guests successfully operate your thermostat. A well-designed visual guide allows guests to match what they see on the instruction with what's in front of them, eliminating the translation step that causes most confusion.
Take photos with arrows and labels
Use your smartphone to photograph your actual thermostat, then add simple arrows and text labels using any basic photo editing app. Show the exact screen or button layout guests will see, and mark the specific buttons they need to press. For example, a photo showing "Press this button to switch between HEAT and COOL" with a bright arrow pointing to that exact button eliminates ambiguity. Take separate photos for each major action: one for increasing temperature, one for decreasing it, and one for switching modes.
Keep your labels short and action-oriented: "Push here to raise temp" works better than "Temperature increase button." Use a consistent, bright color for all arrows (red or yellow shows up well) so guests can quickly spot what to press.
Show only the buttons guests need to use
Don't document every feature your thermostat offers. Guests need to know three things: how to make it warmer, how to make it cooler, and possibly how to switch between heating and cooling modes. Everything else (scheduling, fan settings, humidity controls) should either be preset by you or simply not mentioned. The more options you explain, the more overwhelming your instructions become.
If your smart thermostat has advanced features, consider whether guests need access at all. Many hosts disable scheduling features or lock certain settings to prevent accidental changes. Similar to how you might approach smart lock instructions, the goal is simplification, not comprehensive education.
Where to display your visual guide
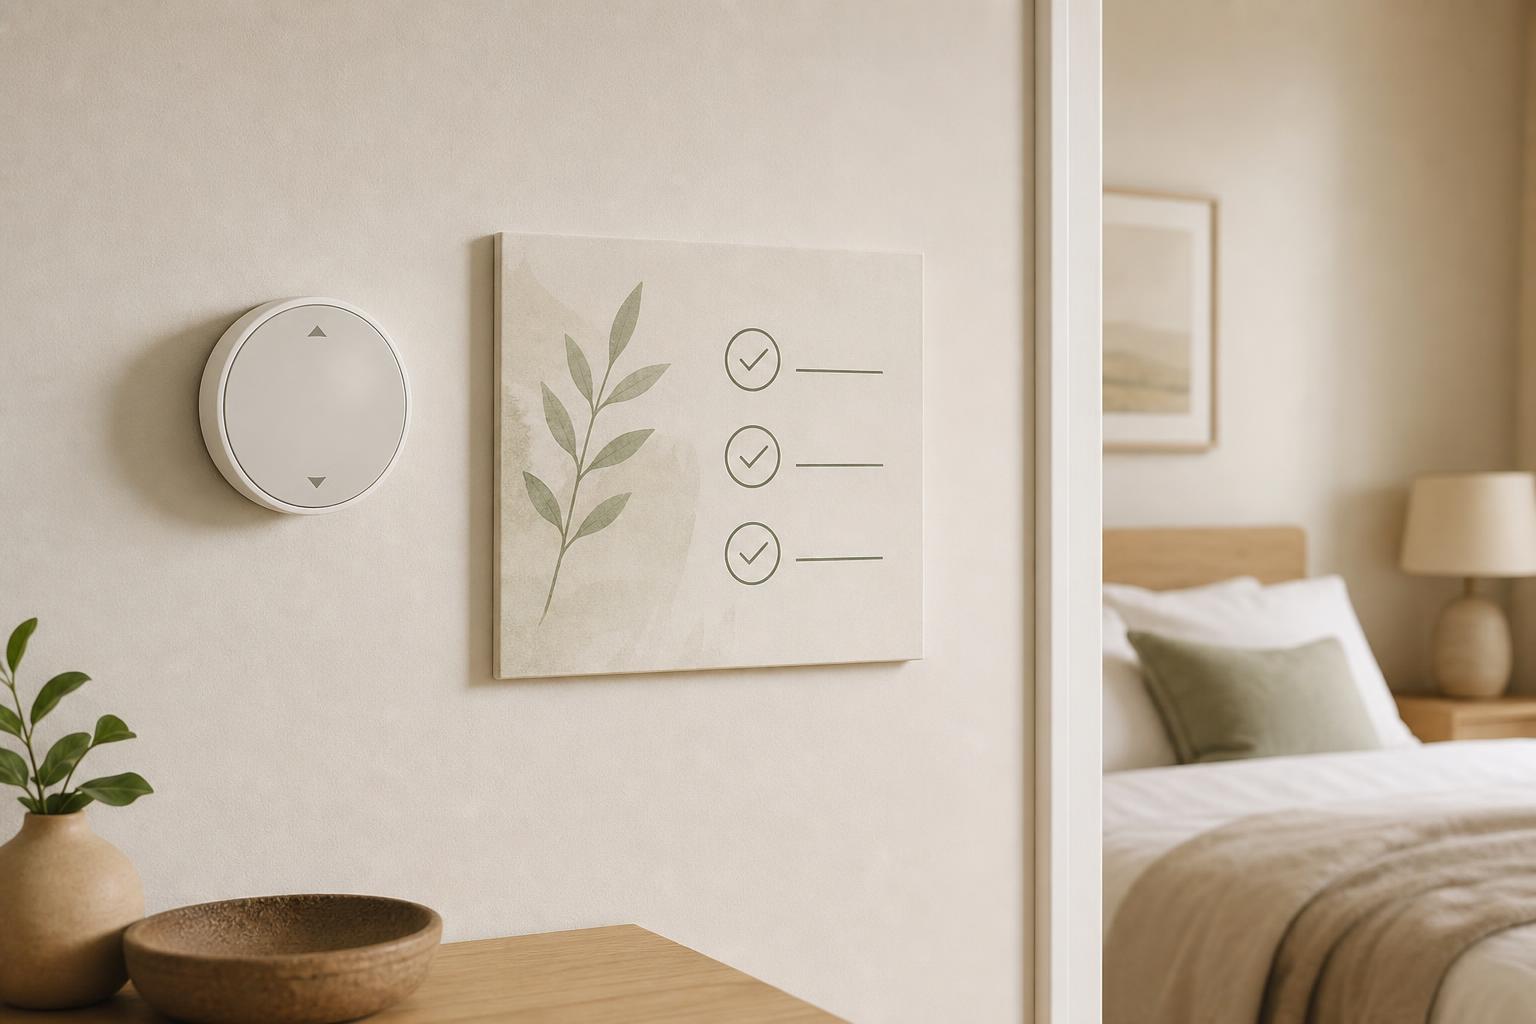
Place a laminated copy of your visual instructions directly next to or below the thermostat itself. Guests shouldn't have to search through a welcome book template or manual when they're standing in front of the device needing immediate help. Use a small frame or adhesive-backed plastic sleeve to make it look intentional rather than taped-up and temporary.
Include the same images in your digital guest guide with a note like "Need to adjust the temperature? Here's how" so guests can reference instructions from their phones even if they're in bed or another room.
Smart Thermostat Special Considerations
Smart thermostats create unique challenges because they offer so many features that guests don't need and that can actually interfere with a smooth stay. The key to success with devices like Nest, Ecobee, or Honeywell Home is strategic limitation rather than full feature access.
Disable features that confuse guests
Most smart thermostats allow you to disable learning features, auto-scheduling, and geofencing through their settings. Turn these off for rental properties. You don't want your thermostat "learning" from Guest A's preferences and then applying those patterns to Guest B's stay. Disable any features that prompt guests with questions or suggestions on the screen, as these notifications confuse guests who think something is wrong.
Set up a simple manual schedule that maintains your baseline temperature, or use "hold" settings that keep the temperature constant unless manually changed. This prevents the thermostat from making unexpected adjustments that guests will try to "fix."
Provide simplified mobile app access
Decide whether to give guests app access at all. Some hosts find that providing login credentials for the thermostat app reduces confusion because guests can use familiar smartphone controls. Others find it creates more problems when guests change settings remotely or don't log out properly. If you do provide app access, create a guest account with limited permissions rather than sharing your main account credentials.
Include clear logout instructions so guests don't leave your thermostat connected to their phone after checkout. Test this process yourself to ensure it's actually simple.
When to keep remote control yourself
For hosts who experience frequent temperature-related messages or high utility bills, maintaining exclusive control through the app while giving guests only physical thermostat access can work well. This lets you monitor energy usage and make remote adjustments if guests set extreme temperatures. However, this approach requires responsiveness since guests will message you instead of self-serving, so only use it if you're prepared to answer temperature requests promptly.
Some hosts split the difference by setting reasonable temperature limits (say, 65-78°F range) through the thermostat settings, giving guests freedom within bounds while preventing extreme energy waste.
Conclusion
Clear thermostat instructions aren't about dumbing things down; they're about respecting your guests' time and reducing friction in their stay. When you set comfortable defaults, create visual guides that show exactly which buttons to press, and strategically limit complex features on smart devices, you eliminate one of the most common sources of guest frustration and host interruption. The result is fewer midnight messages, better reviews mentioning comfort, and lower utility bills from guests who aren't overcompensating with extreme temperature settings.
Remember that your thermostat instructions are really about creating confidence. Guests who understand your climate control feel more in control of their environment, which translates directly to satisfaction and positive reviews. The small effort you put into photographing your thermostat and writing a few clear labels pays dividends throughout every booking.
Ready to put all your property instructions, including thermostat guides, in one place where guests will actually use them? Create your digital guest guide and give every guest instant access to the visual instructions they need right on their phones, eliminating confusion before it starts.